Restoring a second Dick Smith System 80. Part 1: Missing memory fix
Introduction
I have a great affection for the Dick Smith System 80. Friends will testify to this and it is further evidenced by my System 80 archive site. In the day I'd never dare look under the keyboard but after restoring a junk unit recently and successfully repairing another machine, the innards of a System 80 are starting to feel as familiar and comfortable as an old pair of slippers!
A couple of items in the System 80 haul were two neglected 32k System 80 computers. These were advertised as parts-machines and indeed the external appearance would suggest just that. These ex--school units were dirty, scruffy, had keys the colour of nicotine and sported the words "Waiopehu College" carved into the case (a last feature to allow a quick ID of hot property in case of theft no doubt)! Interestingly both were badged as blue label models but the boards inside told a different story. They were in fact Mark I (version 2b) units. Both had a special network modification, which I'll cover in another article. Switching on revealed a garbage screen in one. No surprises there. However the other looked more promising. It booted, but only to 16k instead of the fitted 32.
Despite their tatty demeanor, there seemed to be potential. Although scarred the cases were not cracked and the screw sockets had not snapped off. No keys were missing and none were sticking. I figured with a little TLC, elbow grease and retrobright treatment on the keys, they just might pass as half-way acceptable. I might even get one of them going properly by mixing and matching parts!
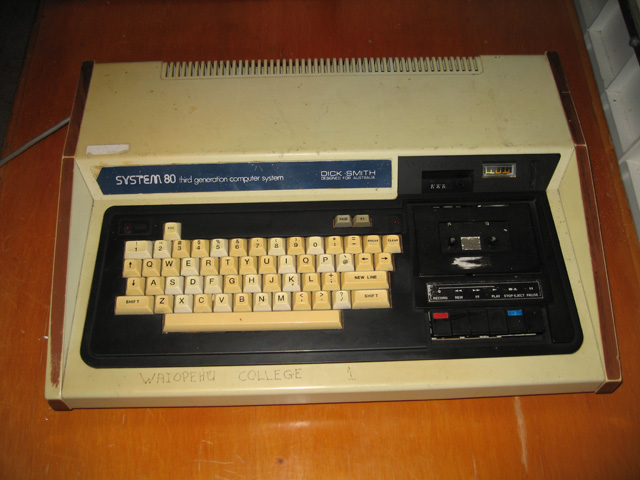
Figure 1. The subject of this blog. One scruffy "16k" 32K System 80 prior to cleaning
This blog entry and following blog entries in this series deal with the unit above. It seemed to show the most promise. Out of the two, this was the only one with a level meter and volume control, essential equipment for loading program tapes.
The issues
Apart from needing a good clean, there seemed to be two things wrong with this computer. First it informed me politely that it had 16k of RAM when I knew it had more! Second the cassette recorder seemed to find a signal from a tape just when it felt like it, and even then it was a gamble that anything would load!
I decided to tackle these things one at a time starting with the subject of this article, a memory recovery fix. Obviously there was a faulty DRAM chip somewhere. System 80s are expanded in increments of 16k and I figured only one bad chip would be needed to take down a whole bank.
Identifying the bad IC
Stacking 4116 DRAM chips was a common way to boost the memory of the System 80 back in the day. The alternative was to buy the expansion unit which set you back as much as the computer did! This machine had pairs of stacked RAM ICs. But therein lay a diagnostic difficulty. All RAM is socketed and in a 16k machine you could simply swap out the individual chips until you found the faulty one. How was this possible with RAM chips that were soldered on top of, and between each other! I didn't know the answer, but I thought it was worth trying the old "piggyback" method. This involves placing a good RAM chip over a bad one with the corresponding pins in contact with one other to see if that causes the machine to work. Negative results are not definitive but if the machine suddenly comes right, you've identified the faulty component!
Although each socket had two chips, I figured only one would be faulty and a piggyback of a known good one might show up which "pair" had the fault. To do so though I had another problem to contend with. The RAM bank was under the keyboard. I had to have the keyboard connected to see how much memory I had after each piggyback as the memory was displayed as a response to a >PRINT MEM command. However, I could not bend the keyboard away from over the RAM as it was connected to the CPU board by a strong but brittle multi-pin connector. Bending this connector too much would cause the pins to snap at the base! In the end I used a carefully (but rather precariously!) positioned screwdriver as a support, to hold the keyboard off the RAM, while I piggybacked ICs underneath (figure 2). This means I had a working keyboard which didn't strain the connector too much.
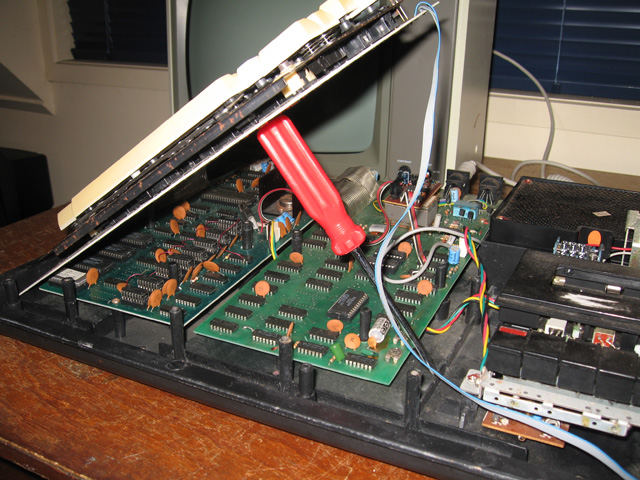
Figure 2. Keyboard support during a piggyback RAM test
For the piggyback chip, I took care to bend pin 15 outwards, as this was the pin used to connect the socketed pairs. As I worked up the pairs I found mounting a third IC this way either caused a lockup/freeze or had absolutely no effect. It didn't look promising....until the last bank. A piggyback over the last pair saw a return to 32k when the computer was interrogated. Yay!!
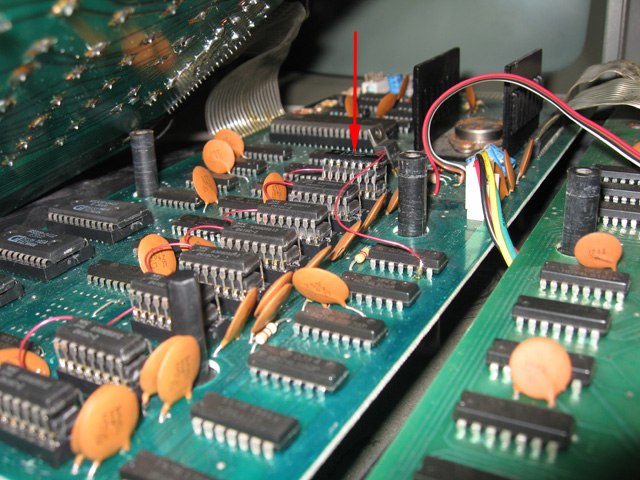
Figure 3. Piggyback success on the last pair!
I now knew one of these ICs in the pair was bad. But which one? I desoldered the pair so I had individual ICs and then tested them. For the test, I used an old Apple II clone machine. These machines have exposed banks of RAM that are easy to get at. Furthermore, I knew if I put bad RAM in the very first socket in the first bank of RAM (shown by the red arrow below) the machine wouldn't boot at all!
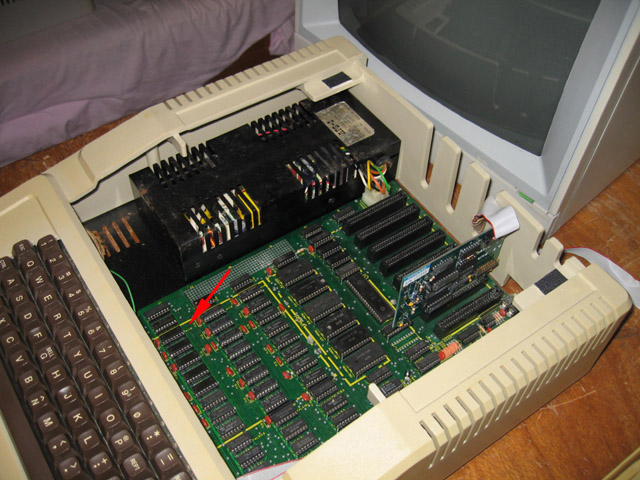
Figure 4. Apple II+ clone as a 4116 DRAM tester (when minus drive card of course)
Overkill for a 4116 DRAM testing device maybe, but hey, it works!
I'd soon identified the faulty IC. It was just a matter of soldering a replacement into place and there you go. The RAM issue fixed. (Or so I thought! Read more in part 3 coming soon ).
Reflections
So far so good. Things were going well. One issue down and one to go. I now turned my attention to the cassette deck. I suspected a few faulty capacitors and that changing them as I did in my first restoration job would fix the problem.
Boy was I wrong! The story continues in Part 2....
Tez
28th September, 2010
| Tweet |