Replacing the full-stroke keyboard on a CBM 3032 (Commodore PET)
 The issue
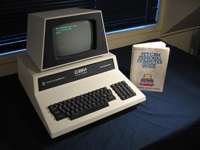
My Commodore CBM 3032 (Commodore PET) looks the epitome of a late 70s microcomputer. It's stunning visual appearance makes it one of my favourite units!
With help from friends I restored and repaired this unit back in January. However, the keyboard was never fully fixed. It worked, but I had to give each key a good solid thump before getting a corresponding character. I tried cleaning the contacts several times to alleviate this symptom. It worked to a degree but key-thumping was still needed for some keys and the symptom appeared in most again after time.
One day when reading posts on the Vintage Computer Forum I noticed a regular U.S. contributor mention that he had a few spare brand-new PET keyboards that had never been out of the box. This is just what I needed to replace my own frustrating input device! Hopefully the price would be reasonable. I contacted him, found the price was good and was soon in possession of a shiny unused PET full-stroke keyboard shipped from the U.S. (thanks Bill!).
The new keyboard had a card edge connector. I checked my keyboard and found it was exactly the same. However the cable that connected the keyboard to the main board was physically wired to the connector, rather than using a card edge! Why this was so is a puzzle? You would have though a card edge plug would have been the way to go. After all, that's what a card edge is for! Perhaps other units did use a card-edge connector?
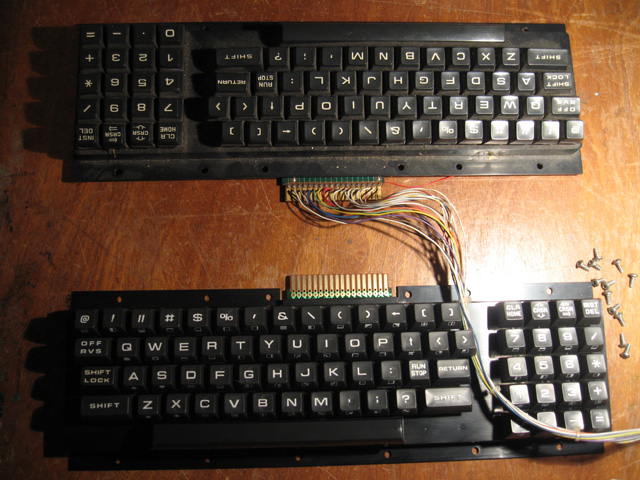
Photo 1. Old (top) and new (bottom) PET keyboard
Anyway, it simply meant a soldering job had to be done. No problem. It looked straightforward; just a matter of pushing each wire through a hole, then doubling back the bare-wire end through a smaller hole and soldering it in.
There were 18 wires in all. All wires were a different colour. Before desoldering them from the old keyboard I took careful note of the order of the wires. I didn't want any crossed ones!
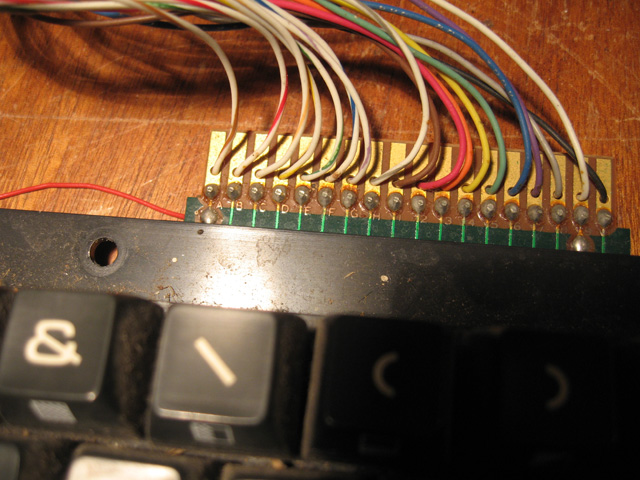
Photo 2. Connecting wires on the old PET keyboard
Unsoldering was simple and resoldering onto the main board was easy too. I pushed each wire through the large hole, then looped it back pushing the bare end through the smaller hole before pulling the wire tight at the other end. The wire was held in place by the friction of the tight loop and I found I could prepare all 18 wires this way before flipping the board over and then soldering them in all at once.
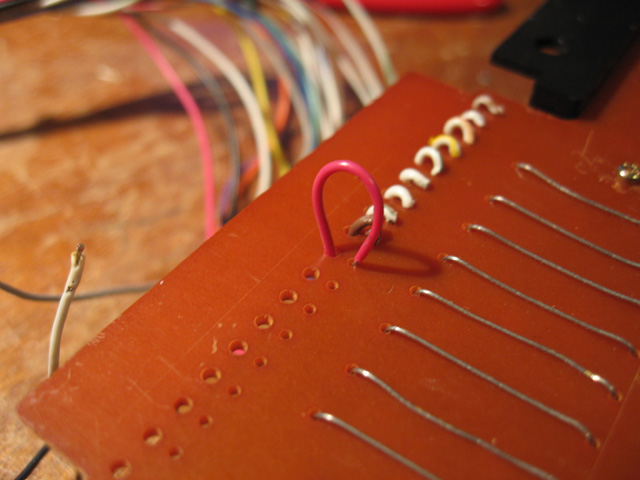
Photo 3. Rewiring the new keyboard. Preparing the connectors for soldering
After this was done, I plugged in the new keyboard, screwed it back into place and tested.
Fine! In fact, more than just fine. Excellent! The keys all worked and they just needed a feather touch to place a character on the screen. I hadn't realised just how bad the old keyboard was until I tried this new one!
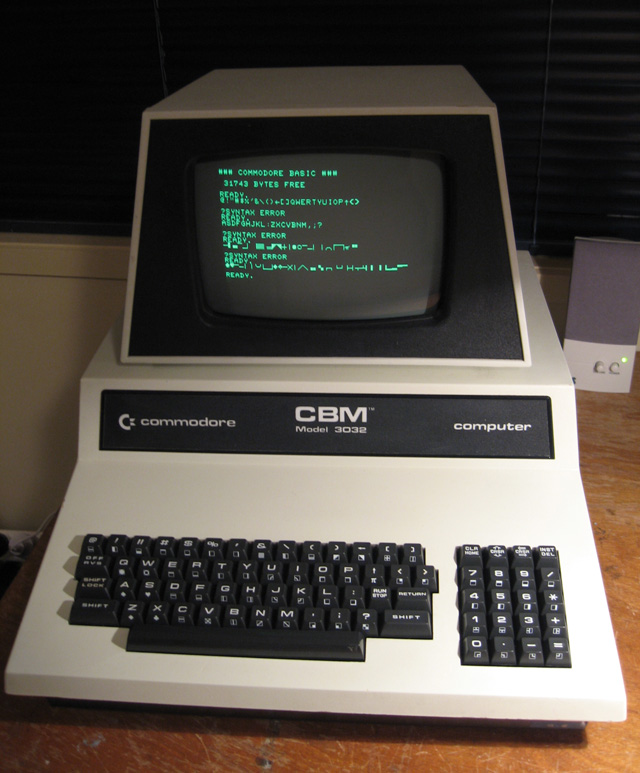
Photo 4. Every key on the new keyboard was pressed to see if it displayed what it should
So, that is that. The PET is now full restored, It looks (and now feels), great!
As to the old keyboard, I'll keep it. You never know when another collector might want a single keycap to replace a broken one and hence fully restore their machine. Sometimes it's hard to get hold of small items like this. I'll be able to supply the part.
Tez
14th November, 2009