Restoring three Dick Smith System 80 drives (Micro Peripherals Model 51)
Introduction
This is the first in many blog entries discussing the restoration and repair of bits and pieces which arrived with the System 80 haul. There are a number of goodies so I've decided to approach restoration in a systematic way, choosing a limited number of items and working just on those until they are made presentable, repaired, filed away for parts or disposed of. That way I'll gradually process them all without getting overwhelmed.
Three disk drives
First up was three badged Dick Smith System 80 40-track single-sided disk drives. These were the real deal, sold by Dick Smith or his agents in the day. Externally, they all looked in good condition.
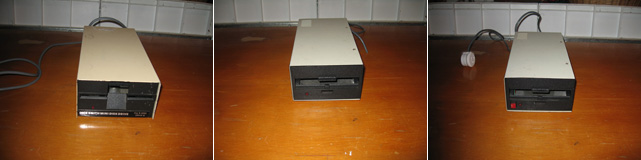
Figure 1. System 80 drives from the haul. But would they work?
The leftmost drive was designed to lie flat whereas the other two were cased so as to either present themselves vertically or horizontally as the user so desired. All were painted System 80-cream yellow. The middle one had its plug cut off. Apparently this had made crackling noises and issued smoke so was deemed unsafe to handle by a previous owner. Just to make sure someone wasn't tempted to give it another shot, its means to connect to the wall outlet was removed.
After giving all three a good clean, I sat down to try them out.
TRS-80 Model 1 as a test machine (and a bit about my own Dick Smith drive)
I know, I know! A System 80 drive should be tested on a System 80. Consider the Model 1 though. It has a smaller footprint than the System 80 and my desk has limited real-estate. Also, it was easier to get at than my boxed System 80s! (figure 2).
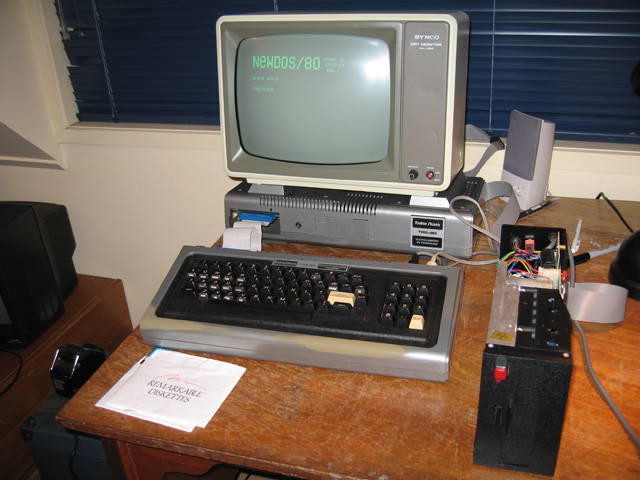
Figure 2. TRS-80 Model 1 drive testbed
The first thing I did was to test my existing System 80 drive on the Model 1. If I saw problems, I wanted to know it was the drive not a cranky computer or expansion unit.
My System 80 drive has the original cover and badge, but actually it's not the one Dick Smith's reseller sold me. It's a TEAC drive bought just a couple of years ago as a replacement, the original drive being tossed by me thinking it was faulty (it wasn't..but that's another story). Although the TEAC drive fits in the case OK, the card edge does not line up with the internal card edge off the power supply meaning I can't use the card edge on the case. As a result of this I've had to connect the cable internally which in turn means I can't remove it without removing the cover (figure 3)! This piece of information has a point, which will become clear later.
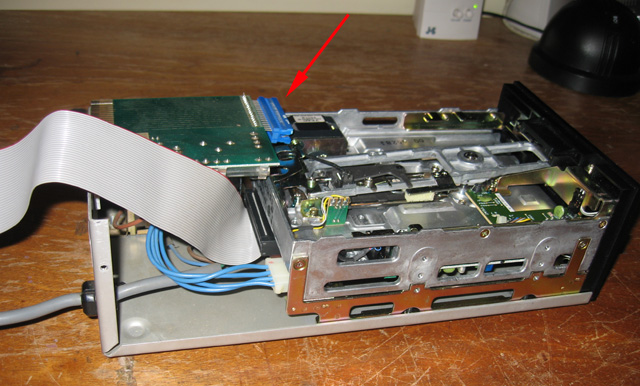
Figure 3. My existing System 80 PSU and case with TEAC drive. Note the card socket for where the drive card edge ought to be.
Documentation
I knew enough about these kind of drives to understand I would have to set them all to drive 0 for testing individually. How though? There were dip switches on two of the drives and a set of jumpers on the third but it was hard to know the correct settings. I checked the make and models. Ok...Micro Peripherals Model 51. Hmm..now where had I heard that before?
Then I remembered. I had a manual for these drives on this very site!! My friend Philip Avery had loaned me a hard copy which I scanned and put up for the benefit of the vintage computer community. I didn't know that I'd be a major beneficiary! I brought the manual PDF up on the PC and soon found what I needed. Configuring the drives would be no problem.
There was only one terminating resistor chip between all three drives so I figured they were part of a set originally.
(1) Drive 1
Drive one was the flat "horizontal-only" drive. Switching on revealed....nothing. Not a peep. Seemed like no juice was getting through. Sure enough, measurements on the 12 and 5v lines showed 0 volts. A bad drive PSU (figure 4).

Figure 4. Bad Dick Smith PSU
Hmmm. Now the case and PSU under test was exactly the same as my existing DS case and PSU. I decided to swap this first drive into my existing case/PSU. The new drive sat in there far more snuggly than the TEAC, with the card edge lining up nicely with the extension off the case. These MPI drives were obviously the ones this case was made for (figure 5)!
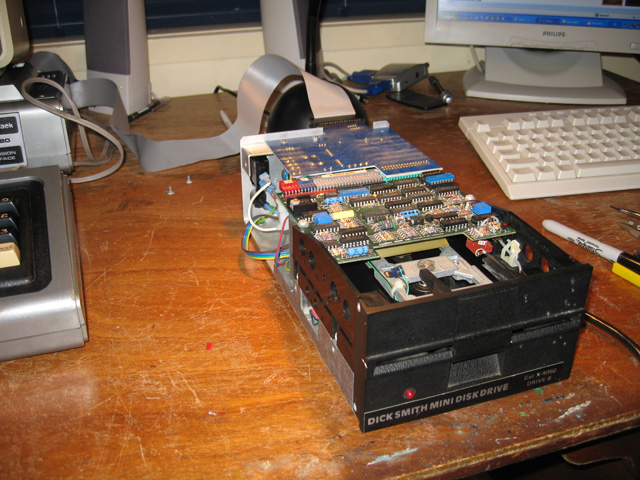
Figure 5. Dick Smith PSU and case with an MPI drive. A good fit.
After a few seconds getting the heads scrubbed with a cleaning disk it was time to put the drive through its paces. I used the package "System Diagnostic" by Howe Software (1982). It had a module for drives which tested many functions such as drive select/disk controller, track seek and verify read, read/write/verify all sectors, disk drive speed etc (figure 6).
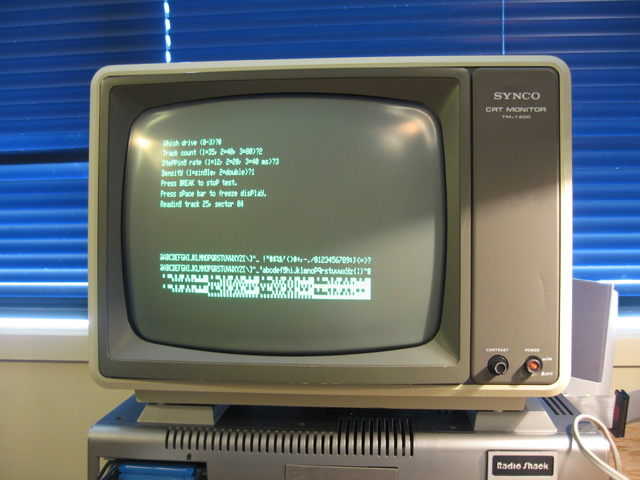
Figure 6. Diagnostic program at work
The drive passed with flying colours. Only a small tweak was needed for speed! One drive down, two to test.
So well did the MPI drive seem in it's new housing, I decided I would leave this drive there and use the TEAC drive for a spare or replacement in one of my other computers. I might repair the original drive PSU at some stage, but there was no hurry at all for that.
(2) Drive 2
Drive 2 got the same test treatment. This time both the drive AND the case/PSU passed with no issues.
(3) Drive 3
Drive 3 was the one minus the plug. I checked the unit and pretty quickly found the problem. A blown capacitor. This was soon replaced (figure 7) and a new plug added. This drive/PSU combination then performed flawlessly.
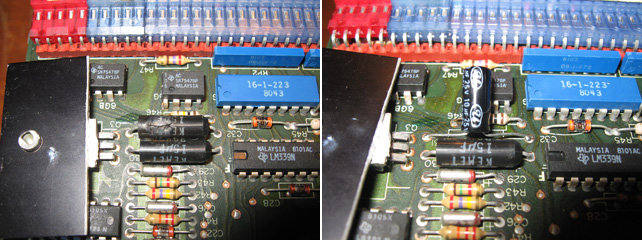
Figure 7. Blown cap shown in the left photo and it's replacement shown on the right
Result
When finished I had three working badged Dick Smith drives which would do any System 80 proud (figure 8)! I'm still not sure what that large red button does on drive 1 though? (-:
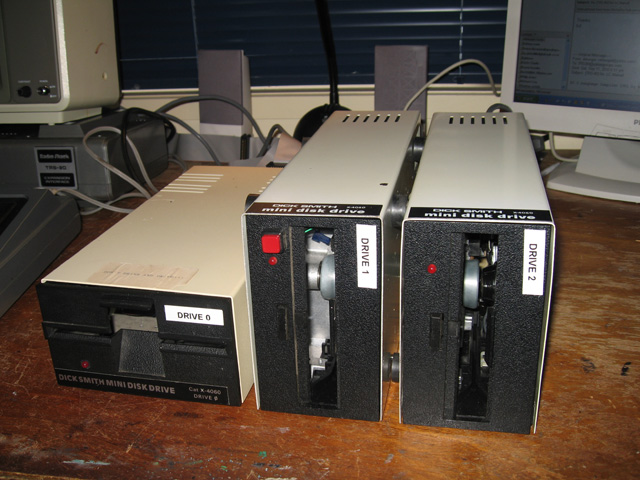
Figure 8. Drives, cleaned, tested, repaired and ready for use
Tez
13th September, 2010