Screen replacement in a TRS-80 Model 4
Introduction
I love my TRS-80 Model 4. Firstly I enjoy the "all-in-one" form factor. Secondly, the Model 4 is the final release in the I/III/4 line, a series of capable Z-80-based, monochrome machines enjoyed by many hobbyists, businesses and schools in the late 70's/early to mid 1980s. Why would you NOT want one!
My unit was sourced from the U.S.A. courtesy of well-known vintage computer enthusiast Bill Degnan. Shipping cost way (way!) more than the unit itself but I am grateful to Bill for sending it to me given the hassle of packing and international shipping from the U.S.. It was somewhat of a hybrid in that it was a non-gate array Model 4 but the keyboard had been replaced by one common on the later gate-array ones.
I was happy with it. The machine worked just fine but there was some screen burn evident. Not serious, but just enough to detract from the overall appearance (Figure 1). If the price was not too exorbitant, I wanted to replace the tube. Luckily there was someone in my part of the world who could help!
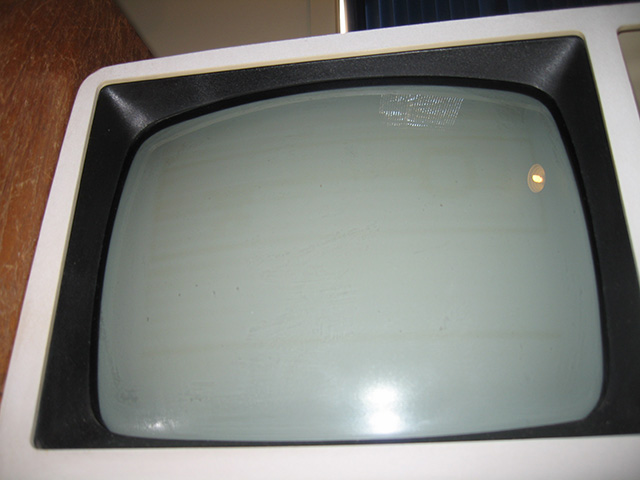
Figure 1. Faint screen burn in the M4's Black and White tube
Ian Mavric is a TRS-80 parts-supplier/recycler and enthusiast based in Australia. Among his stock is replacement green-screens for the Model III/4 TRS-80 range. One of these was acquired from Ian and fitted as detailed below.
Replacing the tube
When the time came to fit the screen the first thing I did was to watch Ian's excellent YouTube video on how to go about the process. This was very informative and showed me exactly what I needed to do.
Next task was to remove the case. This has to be done very carefully so as not to catch the neck of the tube on the wires at the back. Finally it was opened to reveal a lot of workable space. (Figure 2).
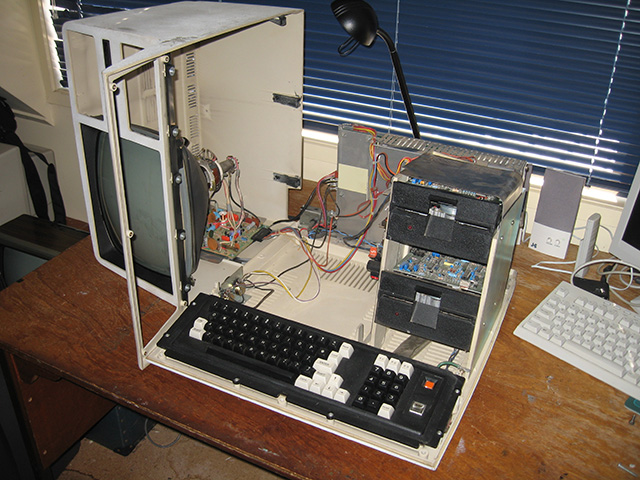
Figure 2. The naked TRS-80 Model 4
Before getting onto the tube I detached the power supply unit and replaced the three original AC line filter capacitors there. These were the paper-type ones common in late '70s/early '80s PSUs. These caps always seem to blow with accompanying (and alarming) smoke and smell. I decided a pre-emptive strike was best and simply replaced them. It was easy to do, and it meant that I no longer had to worry about them erupting in flames and embarrassing me just when I was showing the machine off to someone! (Figure 3).

Figure 3. Model 4 PSU with replaced AC line filter caps
Now to the screen. My fellow vintage computer enthusiast and friend Philip Avery was visiting at the time and it was helpful to have his assistance. Following the procedure outlined in Ian's video we soon had the old tube out and the new tube in (figures 3 to 5). I also took the opportunity to squirt some contact cleaner in the brightness and contrast controls at the same time.
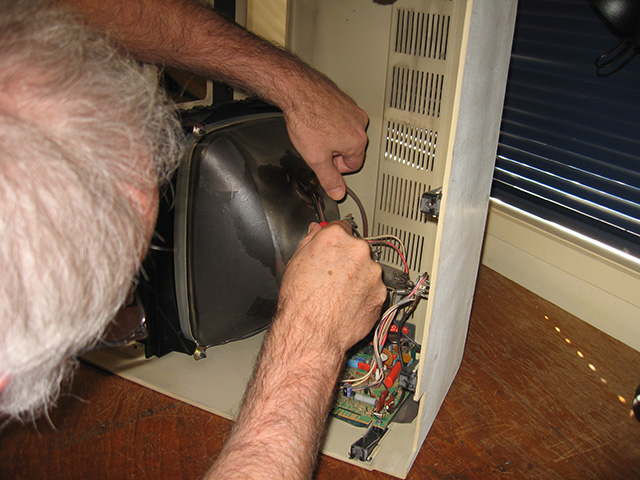
Figure 4. Removing the tube cap (and hoping it had been sitting long enough to discharge!)
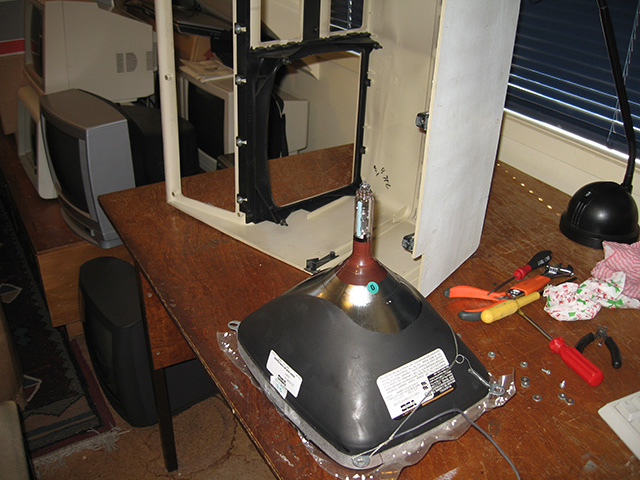
Figure 5. New tube about to be installed
Everything went according to plan and I was soon enjoying the green-screen experience (figure 6).
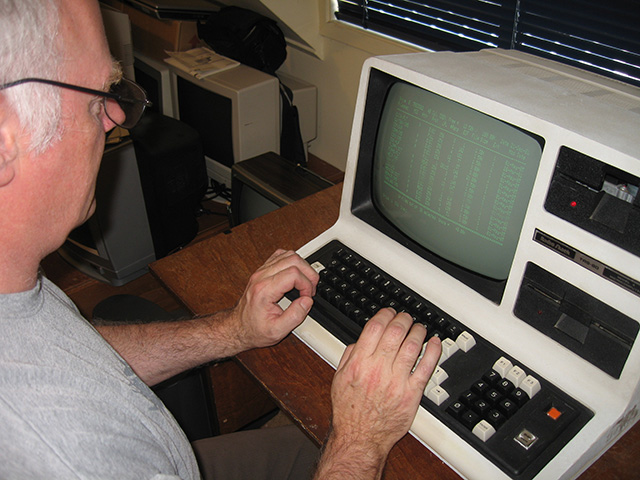
Figure 6. At work on the TRS-80 Model 4 (green screen!)
Reflections
The new screen is clear and bright and of course no sign of screen burn. I do like green screens. They are easy on the eye and have a real nostalgia factor in that they are reflective of serious computing in the 70s and early 80s.
Now my M4 (figure 7) looks even MORE like a gate-array model as these had green screens. In fact externally, the only way to tell its true nature is to look underneath (a bit like sexing an animal). The fact the RS-232 card points down rather than out the back reveals its true inner non-gate array self.

Figure 7. My "new" TRS-80 Model 4
Anyway, it's a fine looking beast!
My thanks to Ian for importing TRS-80 parts to this corner of the world and Philip for lending a hand in the screen replacement task.
Tez
6th May, 2013