Where is the battery in an Amiga 500?
Introduction
When I first acquired my Amiga 500 (Figure 1), the seller mentioned he'd changed the battery. I didn't realise the significance of this until I researched the machine. Whilst Googling I read dire accounts of battery leakage, destroyed motherboards and other tales of woe. Taking the seller at his word I figured the machine would be ok for at least another 5 years. Five years was now up, and I went looking for the battery to check it.
In case you were wondering how to do this, here's how. Yes, I know there are already articles and videos on the web showing how to do this but I've taken all these photos and it would be a shame to waste them!
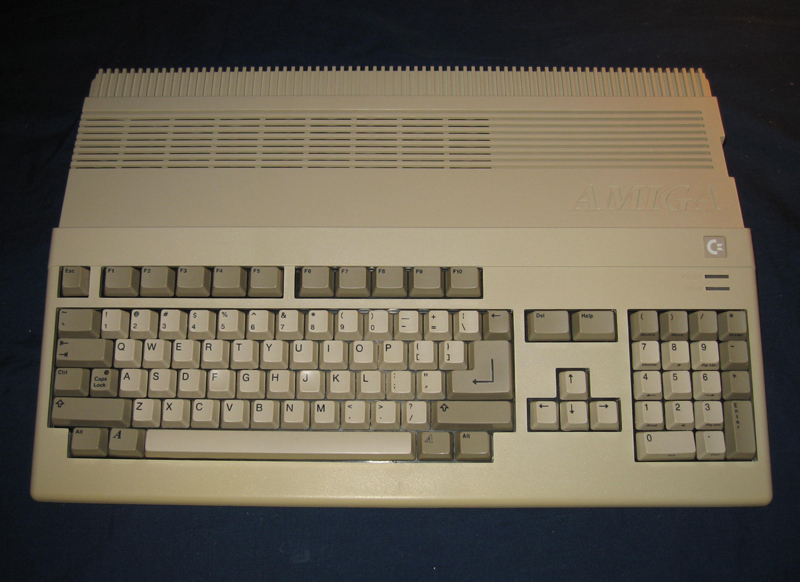
Figure 1. My Amiga 500
Getting to the battery
First, the battery is not on the Amiga 500 mainboard. It's in the additional 512k expansion unit which is hidden underneath the cover on the underside of the computer. Some Amiga 500s might not have this A501 memory expansion module, but most do.
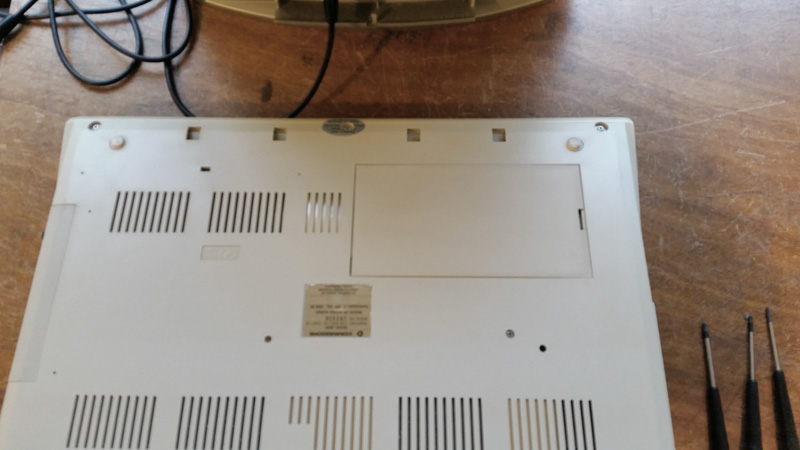
Figure 2. Trapdoor hiding the memory expansion module
Prising open the trapdoor reveals the module encased in its aluminum cocoon (Figure 3). Figure 4 shows it plugged into the mainboard.

Figure 3. Removing the trapdoor lid reveals the A501 memory expansion module

Figure 4. The A501 plugged into the mainboard
The module is removed simply by pulling it off its connector. It's simply held there by friction. Once it's free it can be put somewhere away from the computer where it can be worked on. There may be a problem though. If the module hasn't been opened before (or opened, then sealed by someone who wanted authenticity), then you'll find the lugs are SOLDERED shut (Figure 5). Why manufactures do this is beyond me, but I'll save that rant for another article.
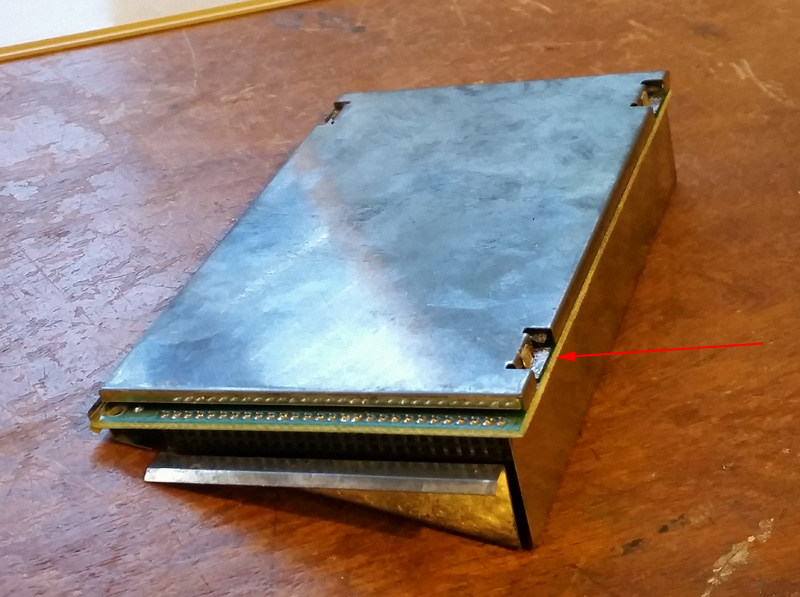
Figure 5. Lugs in the corners are normally sealed with solder
This solder has to be removed. I prefer wick to a sucker but either way, after cleaning it all off the case can be prized apart to reveal the extra memory chips and the very thing we've come here to check and/or replace: The rechargeable barrel battery.
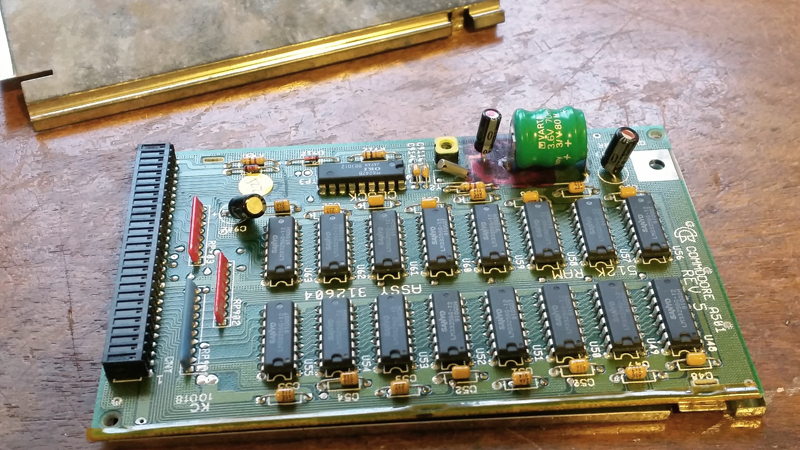
Figure 6. Top of the A501 module showing memory chips and battery
That pink stain under my battery makes it look like it's leaked but it fact it hasn't. I'm not sure why that part is stained red, but I can assure you everything is AOK in Figure 6. While I had this open I checked the battery and it was just fine...just a bit low. I figured this is because I hadn't had the Amiga off for a year so it's had no chance to recharge. There being no sign of leakage I decided to leave it in place for another year or so.
In putting the case back together, I dispensed with re-sealing it with solder so I could open it easily next time. There is more than enough fiction there to keep the case closed tightly. What you do with your own A501 is up to you of course.
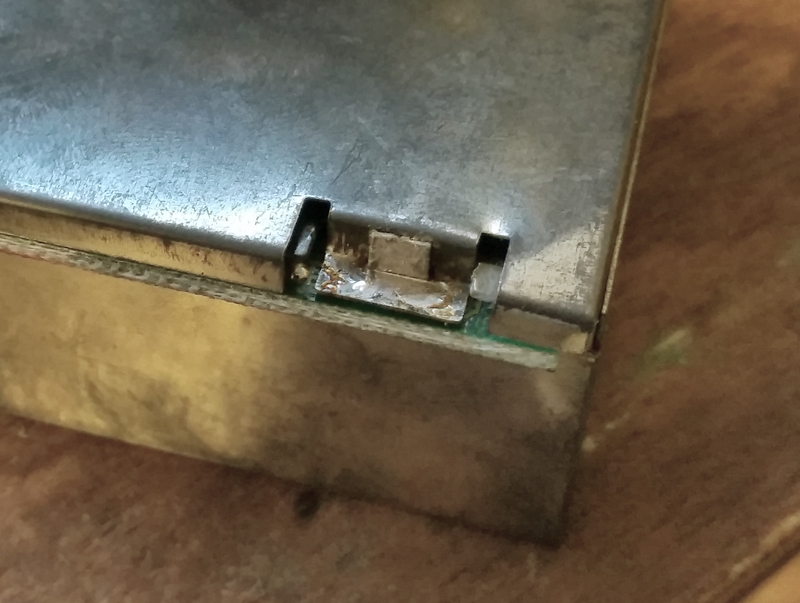
Figure 7. No solder applied when I closed it back up. Friction does the job.
Anyway, that's how you do it. After closing everything up I ran the Amiga for several hours, to recharge the battery. It should be ok now until the next battery check in a year.
Final thoughts
Before I scoured the web for information, I'd assumed the battery would be on the Amiga 500 mainboard where batteries usually are. Of course it wasn't there, and it took me some searching online to find out where it was. The Amiga 500+ model however, DOES have the battery on the motherboard, where the potential for death-by-acid-exudation is even greater!
If you haven't checked your Amiga 500/500+ battery for a while, do it now!
Tez
15th January, 2016