Fixing a vertical linearity problem in a TRS-80 video monitor
Introduction
At the time of writing, I'm at home with my wife in a New Zealand-wide COVID-19 lockdown. What better time to (re-)engage with my vintage computer collection. I'm gradually going through all the items checking that they still work. It's something I try to do every couple of years or so.
This Radio Shack TRS-80 video display hadn't been turned on for some time. When I fired it up, it seemed ok...until I looked closer. The letters at the top were stretched, while those at the bottom were squashed. A brief search on Google showed this was a vertical linearity problem. Interestingly there was a screwdriver-sized hole in the back of the case which lined up with a variable resistor hence enabling vertical linearity be adjusted. No amount of twiddling seemed to make a difference though?
I had a service manual for a TRS-80 Model 1 monitor but it was for an earlier variant. Oh well, nothing to do but remove the case and see what was what...
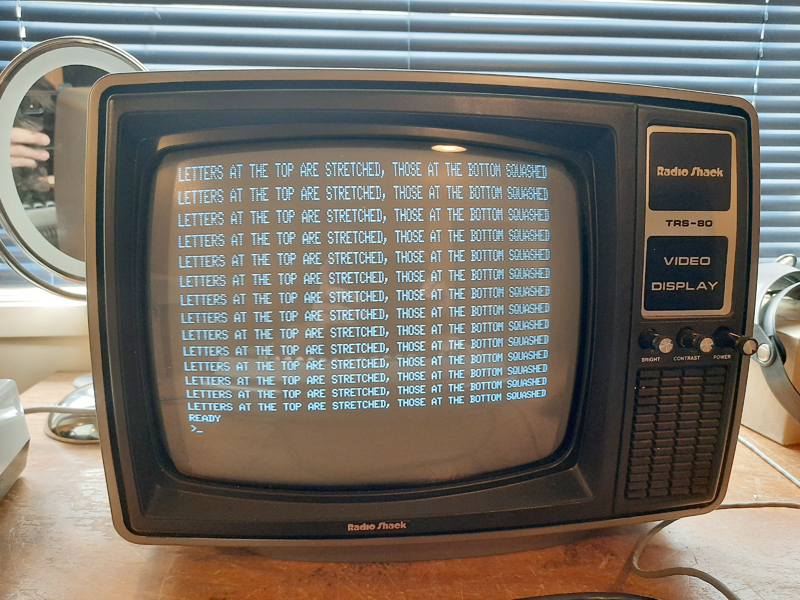
Figure 1. Vertical linearity issue in evidence
Diagnosis and fix
Once opened I could see that the various sections of the circuitry were (helpfully) labeled on the board. Excellent! The first thing I did was to test the variable resistor R315 used for vertical linearity adjustment. This seemed fine, with resistance varying as it was turned.
Next in line for checking was the 4.5 microfarad (uF) electrolytic capacitor in series with (and right next to) R315 (figure 2). I theorised that if that capacitor was faulty, it would affect the vertical linearity adjustment. How to test it though?
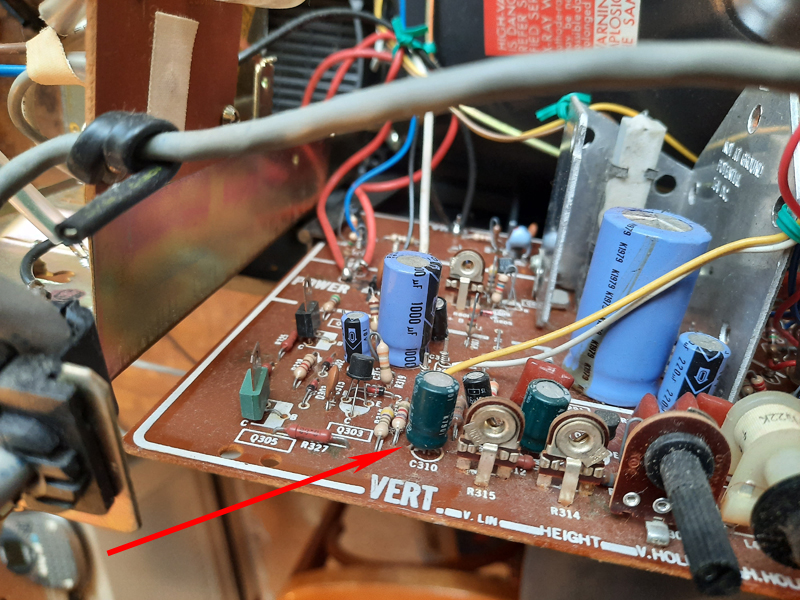
Figure 2. Capacitor in series with the vertical linearity variable resistor
A couple of years ago, I bought (at great expense) this PEAK atlas ESR+ electrolytic capacitor tester. A bonus with this particular model is that one can test capacitors in-line, so there is no need to desolder to check them out. Capacitors don't age well. They are often the cause of many a hardware issue in vintage computers. In light of that I figured this tester would be an essential piece of kit to keep my collection in working order. However, I'd never actually used it as part of a repair project...until now.
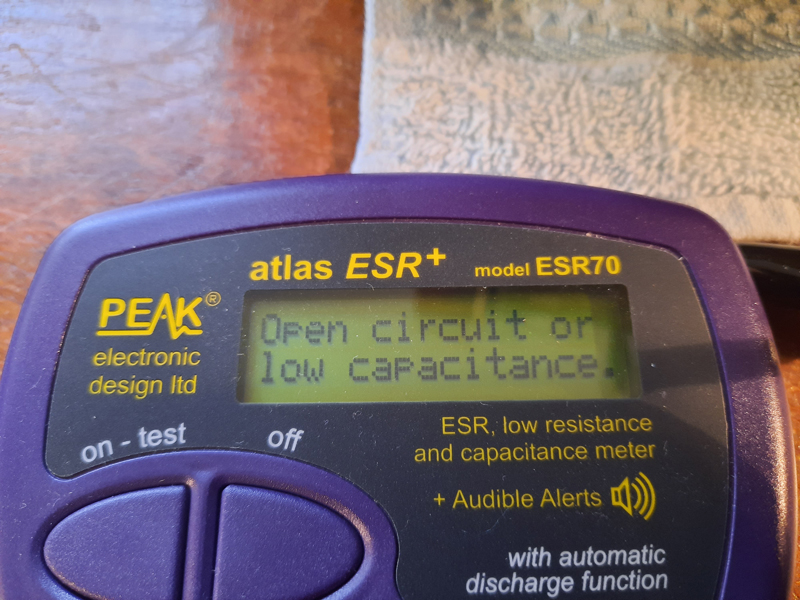
Figure 3. A result from capacitor 310
I connected the capacitor up to the test meter. Figure 3 shows the result. Rather than the 4.5 uF expected, the capacitor was (or nearly was) an open circuit? Certainly this would explain why adjusting the variable resistor seem to make no difference to the problem.
Before whipping the capacitor out and replacing it, I checked a few of the other large capacitors in situ on the circuit board just to satisfy myself that the test equipment was working as it should. The device showed the correct capacitance for all capacitors tested.
The capacitor I needed to replace was rated for 50v. A quick rummage around in the spare caps box revealed a single 4.5 uF cap rated for 63V. Phew, that would do. Just as well I had a spare. Being that it was a COVID-19 lockdown, all local electronic stores were shut!
I soon had the faulty component replaced and yay! Adjusting the variable vertical linearity resistor actually DID something this time. Problem fixed (Figure 4)!
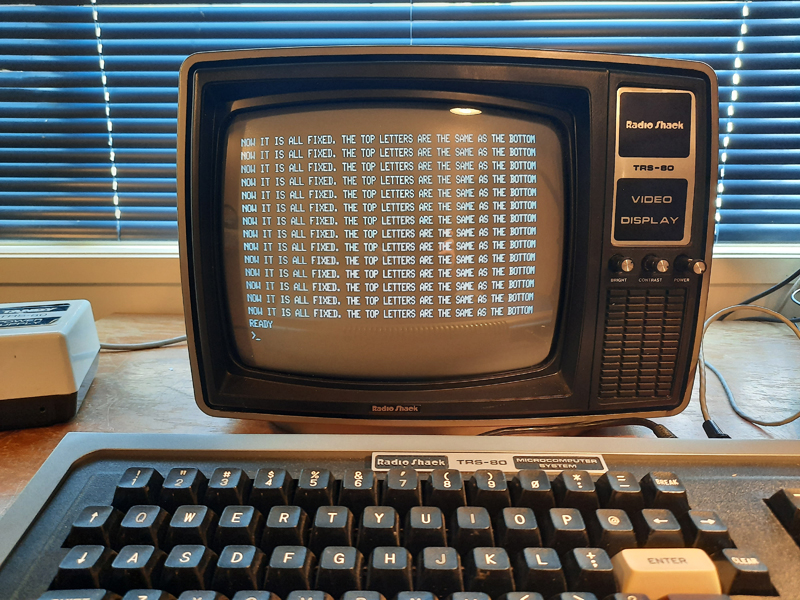
Figure 4. Video all good now
Reflections
In the end, this repair job was easier and quicker than I expected, largely due to the capacitor testing unit. It certainly proved its worth although a resistance test over the capacitor would have revealed the problem also. Anyway, this TRS-80 Model 1 monitor is now as it should be.
Terry Stewart
30th March, 2020
P.S. I now have a manual for this monitor. Many thanks Ira Goldklang.