TRS-80 Model 4 drive re-alignment
Introduction
The TRS-80 Model 4 in my collection is one of my all-time favourite microcomputers. However, it's recently needed some work. Here's what happened...
It started out as a normal day at the office. I was using the machine to check out a spare external floppy disk drive, which seemed to have a failing drive motor. The self-booting software I was using was called "Floppy Doctor" This (highly useful) program tests various functions of a nominated drive.
The software largely runs in memory but at one point in the checkout I needed to reload the program by booting the computer. I hit the big orange button to reboot but rather than the sweet sounds of a stepper motor doing its thing there was a loud, disturbing clattering sound. The drive had never sounded like that before. Booting was unsuccessful, so I pushed the big red reboot button again. This time the drive sounded normal but the software wouldn't load!?
In fact, none of my boot disks would load! By now I was getting quite worried. Drive 0 seemed inoperable.
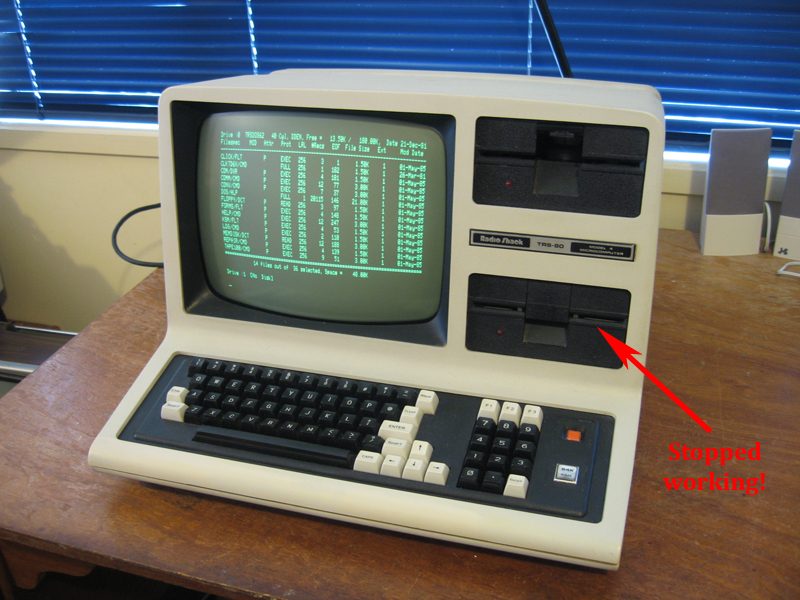
Figure 1. Drive 0 simply stopped loading stuff!
A test with FreHD points to disk alignment
Given that the boot drive had stopped working I couldn't load Floppy Doctor to check out this drive, neither could I even load a DOS to see if I could format a disk. I could hear the disk spinning and the stepper motor seeking though. Things sounded normal. I wondered if it was a speed or alignment issue?

Figure 2. FreHD hard disk emulator (at the side)
Luckily, I have a self-booting FreHD hard disk emulator for this machine. With this wired up, I booted the computer then attempted to copy a disk containing LDOS from drive 1 to drive 0. This seemed to work with no errors. Indeed, I could even boot the machine using this newly copied disk in drive 0! However, I could NOT read the disk at all in drive 1, only in drive 0. The conclusion: there was a compatibility problem, which pointed to either faulty speed or alignment in drive 0 as being the issue. Other aspects of the drive seemed to work fine.
Swapping drives 0 and 1
I needed to get Floppy Doctor loaded to get more information on the errant drive. As the version of Floppy Doctor I had could only be loaded by booting from a disk in drive 0, I needed to swap the two drives over. The working drive 1 would then become drive 0.
This involved opening up the machine and removing the case, a delicate operation as it's easy to snag the neck of the tube amongst the cables around the PSU. However, this was soon done and I set about swapping over the drives (Figure 3). The Model 4 drive selection is done by removing select cable pins so no jumper changes were required on the drives themselves.
While I had the drives out I cleaned and greased the rails just in case this was the issue. I also looked for any pieces of broken plastics or dead insects that may have got caught in the drive thus causing it to go out of whack! Nothing looked amiss.
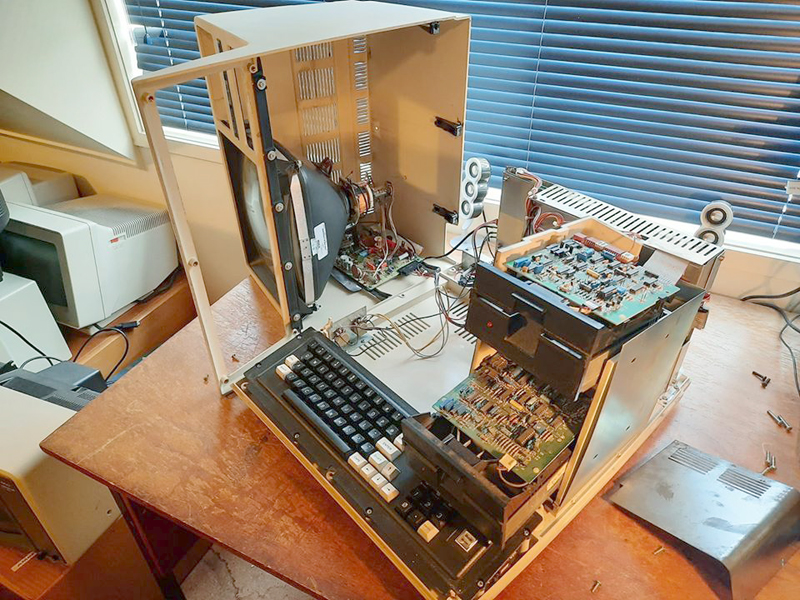
Figure 3. Starting to swap over the drives
Testing the faulty drive with floppy doctor
With the previous drive 1 now as drive 0 and vice versa, I gave the misbehaving drive a complete test with Floppy Doctor. Astonishingly, the results showed no errors whatsoever (Figure 4). Yet the drive stubbornly would still not read any of my disks. Further evidence that it was a speed or alignment issue!
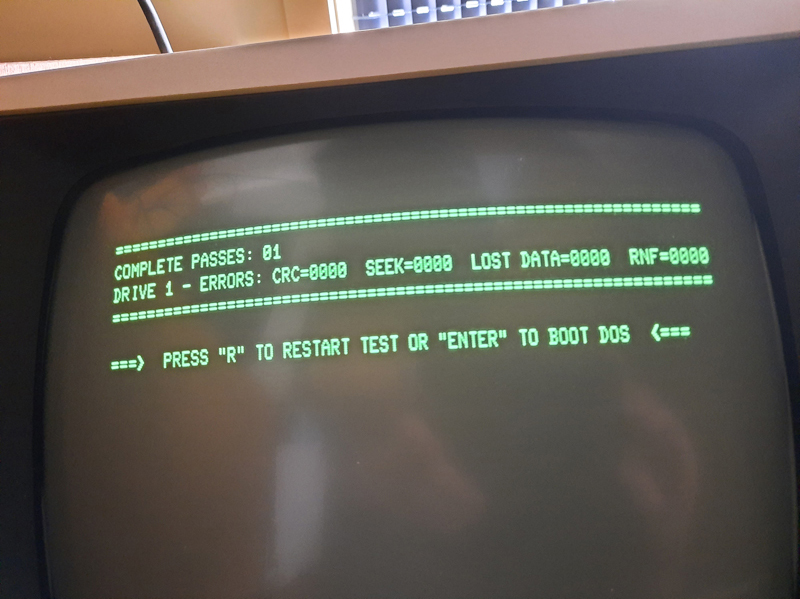
Figure 4. The incompatible drive (now drive 1) passes its tests with flying colours!??
Further checking with the drive removed from the bay
It was impossible to check the speed (using the patterns on the flywheel) with the drive in the drive bay. I had to remove it but there was a problem. The disk cable stretching between drive 0 and the disk controller had no slack in it (Figure 5) so I couldn't turn the drive upside down.

Figure 5. Disk bay showing disk 1 connector. An extension is needed.
Fortunately in the spare parts box I had a floppy disk cable with a card edge adaptor (Figure 6). This let me examine the drive out of the drive bay and on the bench, while still connected to the computer.
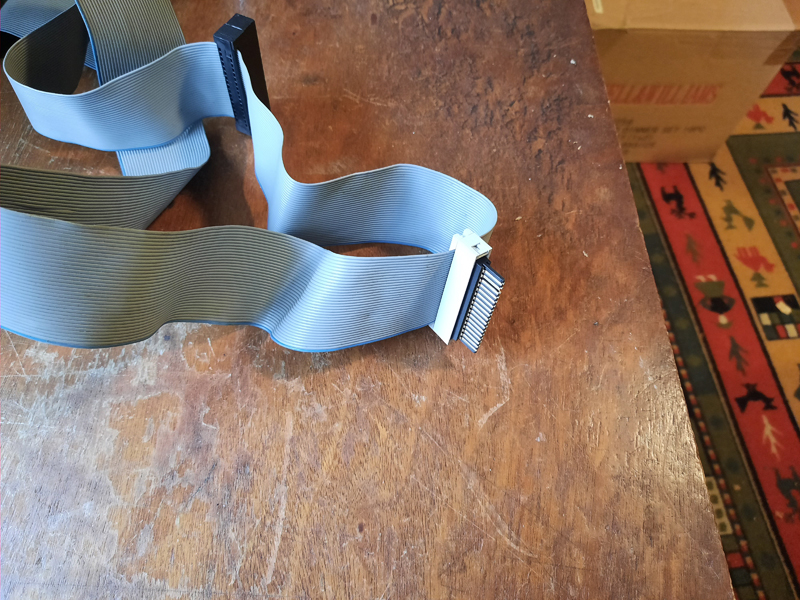
Figure 6. Card edge adaptor in a floppy disk cable.
I checked the drive for speed. It was a little slow but should have been within tolerance. Anyway, I adjusted the speed to exactly right, but it didn't cure the incompatibility. Alignment was next on the list.
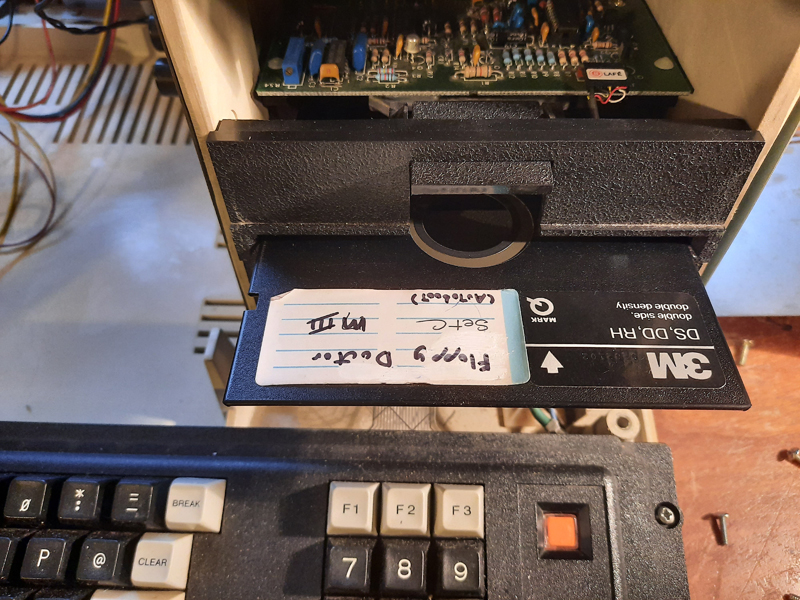
Figure 7. Next step: Re-alignment using Floppy Doctor
Alignment using Floppy Doctor and the "Avery method"
Aligning a 5.25 inch disk drive normally takes a special disk designed for the purpose. However, there is a hack available which was introduced to me by a friend, Philip Avery. In fact he wrote an article on it which is hosted on this site. Philip's problem drive was from a Kaypro II but it was exactly the same type of drive I had in the Model 4: A Tandon M100 -2A. The basic idea is to use Floppy Doctor to park the head over a track midway down a disk previously written by a good drive, and check the signal with an oscilloscope. If the drive alignment is good, a strong signal will be seen. If misaligned, the signal would likely be between tracks and therefore weak. It's then just a matter of adjusting the alignment until the signal seems strong (therefore now over a track). The final step is to check that the realignment has selected the correct track rather than one adjacent.

Figure 8. Floppy Doctor reading the signal from track 20 (14Hex)
With the scope attached to test points on drive 1, a floppy disk formatted on the good drive was inserted and Floppy Doctor instructed to sit over track 20 (14 Hex) and read data. To my surprise, the scope showed a strong signal (Figure 9). If misaligned, I'd expected to see a weak signal as it would be reading between the tracks not over one. Tweaking the alignment screw confirmed I was indeed sitting directly over a track.
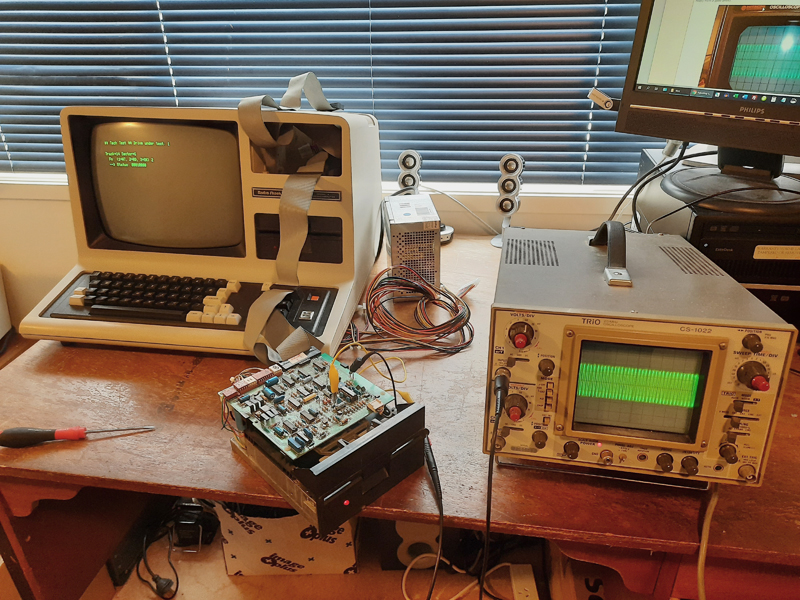
Figure 9. Scope positioned over a track showing a strong signal
Weird, but given all the other evidence I was convinced it was an alignment issue. I wondered if perhaps the misalignment was off a whole track! In other words, what I was seeing was actually track 19 or 21 on the floppy. I had nothing to lose so I turned the alignment screw clockwise until I saw the signal drop off, then rise again indicating I was now sitting over an adjacent track.
But was it the right one? If my theory was right, the drive was now either aligned correctly or was now two tracks out. Either that, or the problem wasn't alignment at all!
Checking the re-alignment
An easy way to check the re-alignment was to simply insert one of my software disks in drive 1 (the faulty drive) and see if the disk could be read. To my delight, the drive read all five existing disks I tested it with. I then copied LDOS onto a blank disk in drive 1, the booted the machine with that disk in drive 0. It was no longer faulty!

Figure 10. Panik loaded from the re-aligned disk
The drive now seemed fine. I decided to keep it as drive 1 rather than its original drive 0 in case it suddenly threw a fit again. Drive 1 is not as critical as drive 0, which is the boot drive. Hopefully it will be ok from now on.
Reflections
I still don't know why the drive went out of alignment like that and by a whole track? There was an unusual noise at the time so something bad was definitely going on. Who knows, maybe it will do it again. Anyway, it's working now and I had fun dragging the 'scope out and putting it to some use. The "Avery Method" is a good hack for drives like this on a TRS-80.
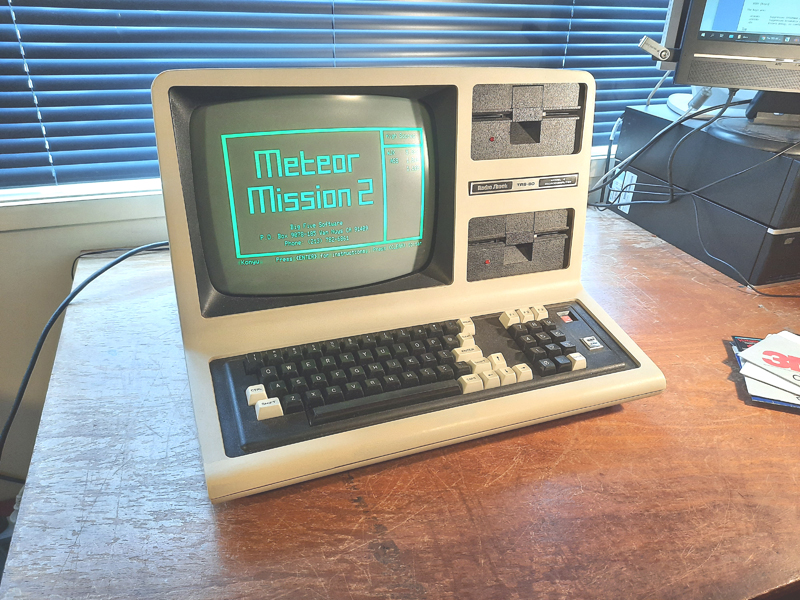
Figure 11. Meteor Mission anyone?
Update: The drive did indeed dramatically go off track again. This time I think I've fixed it properly. See this article from 4th September, 2022.
Terry Stewart
3rd April, 2020